
Welcome to Tea or Coffee. Explore our practical guides designed for better focus and steady energy throughout your day.
Keurig Won’t Brew? Troubleshooting the Most Common Problems
If your Keurig won’t brew, or keeps turning out short or weak cups, start with the quick checks below before assuming the machine is broken. The right fix often depends on your model, so look for its name on the brewer and keep its Use & Care Guide handy; Keurig’s support site lists guides by model. Then work down this page in order, simplest checks first.
First: The 2-Minute Checks
These quick checks rule out the most common simple causes. They won’t fix every machine, but they tell you where to look next.
- Power. Check that the brewer is plugged in and switched on. Many Keurigs turn themselves off after a while to save energy: the K-Supreme guide says 5 minutes after the last brew, while the K55 switches off after 2 hours when Auto Off is enabled.
- Enough water for your model. The K-Supreme and K-Mini guides both say a minimum of 6 oz of water is needed to brew. On the K-Mini, you add the water for each cup, measured in a mug first.
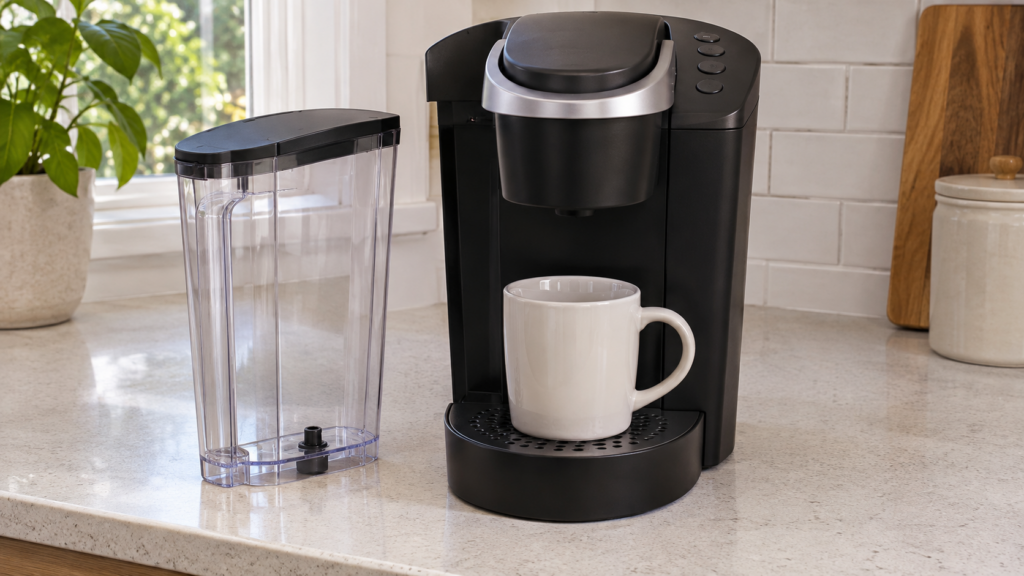
- Reservoir seated. If your reservoir comes off, lift it and set it back so it sits properly in its base. The K55 guide lists this as a check when the brewer won’t brew.
- Pod and handle. Put the pod in the holder with its foil lid on, then lower the handle completely. On the K55, the brew buttons flash when the brewer is ready.
Keurig Won’t Brew at All
Start by deciding which of these describes your brewer, because each one points somewhere different. Work through them in order and stop when the brewer starts dispensing.
- No power or no lights. Press the power button, then plug the brewer into its own grounded outlet. The K55, K-Supreme and K-Mini guides all warn that an overloaded circuit can stop the brewer working properly, and that it should run on its own circuit. If the lights come on, try a brew; if there is still no power, those guides say to contact Customer Service.
- Power on, but nothing comes out. On the K-Supreme and K-Mini, first check that the reservoir contains at least 6 oz. If the water is below that minimum, the guides advise adding 2 oz and pressing BREW again. Never exceed the MAX fill line; if the reservoir already has enough water, move on to the checks below instead of continuing to add it. On the K55, check that the handle is pushed down securely and the brew buttons are flashing.
- ADD WATER stays on. The K55 guide says to fill the reservoir to the MAX line, but not beyond it, and make sure the reservoir is seated properly in its base. If the light still stays on after refilling, it says to contact Customer Service.
- It hums or starts, then stops. Move on to the partial-cup and needle checks below, since a clog can stop water getting through the pod.
Before you press any button combination you find online, confirm your model. The same buttons do different things on different brewers, and a sequence written for one machine can put another into a mode you didn’t intend.
Brews Weak or Partial Cups
First, work out which problem you have. If the cup is the right size but tastes weak, the machine is probably working and the fix is in the brew: try a smaller cup size, a bolder pod or a strength setting if your model has one. If the cup is noticeably smaller than the size you chose, the brewer isn’t delivering all its water, and that’s what the steps below are for.
A simple test helps tell the two apart. Run a water-only brew with no pod into a large mug at a size you know, and see whether roughly that amount comes out. If it does, look at the pod and settings; if it comes out short, carry on here.
Some guides include a purge for a partial cup, and the steps differ by model:
- K-Supreme: the guide says to power the brewer off, then press and hold the brew button and the 12oz button for 5 seconds until water starts dispensing. Let it purge, discard the water and press power to restart.
- K-Mini: the guide says to press the POWER button, then press and hold BREW for 5 seconds until all the water has dispensed. Discard it and press POWER to restart.
Don’t use either sequence on another model. If your guide has no purge, skip this step and go on to the needles.
All three guides read for this article also point to a clogged exit needle (see the next section) and possible scale buildup. Descaling methods vary: the K-Supreme and K-Mini guides name Keurig’s descaling solution, so check what your model’s guide allows before you follow our guide on how to clean a Keurig with vinegar or descaling solution. If you’ve descaled twice and the brewer still makes a partial cup, the K-Supreme, K-Mini and K55 guides all say to contact Customer Service.
Needle Clogs
A Keurig has needles in two places. The exit needle sits in the bottom of the pod holder and pierces the bottom of the pod, while the entrance needle or needles sit under the lid and pierce the top. Grounds in your cup, a slow brew or a short cup can all point to a clog in either one.
Before you start, unplug the brewer and let it cool, as Keurig’s cleaning tips advise. The needles are sharp, so keep your fingers clear of them and use only the tool your guide names, usually a straightened paper clip.
Exit needle. The K55, K-Mini and K-Supreme guides describe the same basic approach. Remove the pod holder, detach the funnel, find the exit needle on the inside bottom of the holder and insert a straightened paper clip to loosen any grounds. Rinse the parts and refit the holder as your guide shows.
Entrance needle on single-needle brewers. The K55 and K-Mini have one entrance needle with two holes. Their guides say to lift the handle, find the needle on the underside of the lid, carefully insert a straightened paper clip into both holes and move it gently. Then lower the handle completely and run two water-only brews with no pod.
Entrance needles on MultiStream brewers. Some brewers use several entrance needles instead of one: Keurig Dr Pepper says its MultiStream brewer head has five needles. The single-needle steps above don’t apply here. The K-Supreme guide says to put the paper clip into the holes in the entrance needles under the lid to loosen grounds, then run two cleansing brews with no pod; for other MultiStream models, follow their own guide.
Leaks
Start with the simple, visible causes. A full drip tray can look like a leak, so empty and clean it; the K-Slim guide, for example, says its tray holds up to 8 ounces of overflow. A reused pod can also cause an overflow. The K-Iced Essentials guide warns about water and grounds overflowing when a reused pod is not aligned with its original punctures. Use a fresh pod.
To reseat the holder, follow your model’s instructions; the K55 guide, for example, says to line it up using the two front ribs and snap it in from the top. Also check that a removable reservoir is seated properly in its base.
Water coming from the base or body of the machine is a different matter. None of the guides read for this article give a home fix for it, so unplug the brewer, stop using it and contact Keurig support. Don’t open the housing or try to replace seals or internal parts yourself.
When It’s Actually Dead
A brewer that keeps failing these checks isn’t necessarily beyond repair. Persistent problems with power, an ADD WATER light that won’t clear, or short cups after two descales are all points where the guides send you to Customer Service, so contact Keurig support before you decide anything. Have your model name ready, describe what you’ve already tried, and ask about warranty and service options for your brewer.
What support can offer depends on your brewer, its age and the warranty terms, so don’t assume a free replacement. If you do end up needing a new machine, our guide to the best K-Cup coffee maker compares current options.
FAQ
Why does my Keurig say Add Water when the reservoir is full?
A removable reservoir that is not seated properly is one thing to check. The K55 guide says to fill to the MAX line, not beyond it, and make sure the reservoir sits properly in its base. If the light stays on after that, it says to contact Customer Service.
Is there one reset procedure for every Keurig?
No. A power cycle, a partial-cup purge and descale mode are different procedures, and their button sequences differ by model. The K-Supreme and K-Mini purges above are a good example, so always use your own model’s guide.
What if it stopped working after descaling?
Check that the descale finished, including the fresh-water rinse. On the K-Supreme, for example, the guide says to refill with fresh water and keep brewing until the DESCALE notification turns off, which means the brewer has left Descale Mode. Then check that the reservoir is refilled and seated, and contact Customer Service if the brewer still won’t work.
For more ways to get good coffee at home, explore our home brewing guide.
