
Welcome to Tea or Coffee. Explore our practical guides designed for better focus and steady energy throughout your day.
Mold in Your Coffee Maker: Where to Look and What to Do
If you suspect mold in coffee maker parts, stop brewing first and work out what you can actually reach. Some of what looks alarming may turn out to be scale or old coffee oil, and the steps below help you deal with each without guessing.
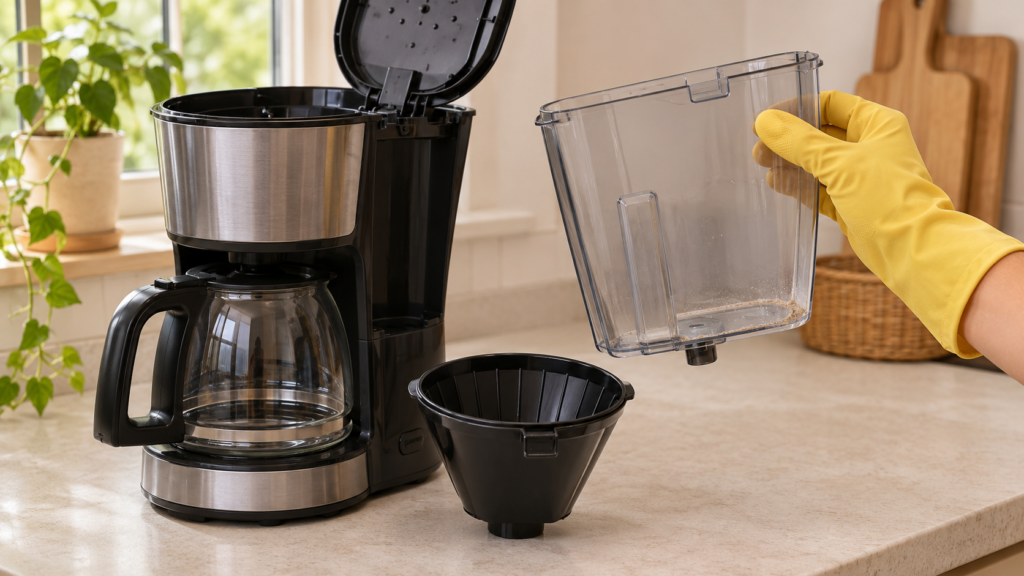
Short answer: Stop using the machine if you can see what looks like mold. Unplug it, let it cool, check its manual and clean the removable parts the way the manual says. If the growth is somewhere you cannot reach, or it keeps coming back, contact the manufacturer or an authorized service provider, or replace the machine.
Where Mold Can Hide
Start with the places that stay wet and that you can see without tools:
- Reservoir: Look at the corners, under the water line and around any filter holder.
- Lid and seals: Check the underside of the reservoir lid, plus any gasket you can see without taking anything apart.
- Filter basket: Wet grounds sit here, so check the basket, its holder and the drip-stop area if your machine has one.
- Drip tray: Slide it out and look underneath as well as on top.
- Accessible water-path parts: On pod machines that means the pod holder, and on drip machines the area around the shower head that you can see from below. Keurig and the Hamilton Beach FlexBrew 49921 manual both warn about sharp needles, so keep your fingers clear.
Stop there. Do not open the housing or try to reach internal tubing yourself. The Hamilton Beach FlexBrew 49921 manual says not to remove the bottom cover and that repairs belong with authorized service personnel, and the Ninja CM360/CM371 guide says the same of servicing.
Not everything you find there is mold. A chalky crust may be mineral scale, and an oily film may be coffee oil residue, while loose bits may just be old grounds or general residue. Fuzzy or slimy patches are worth treating as suspected mold, even though you cannot confirm what you are looking at by sight or by color.
If this has you thinking about how a machine is built, our plastic-free coffee maker guide lists which parts are made from what. Materials and design can affect what you can see and wash, but no material makes a brewer mold-proof.
What to Do About Mold in Coffee Maker Parts
Cleaning and descaling are different jobs. Descaling removes mineral buildup from the heating element, and cleaning deals with residue such as coffee oils. Do not treat a routine vinegar or descaling cycle as a proven way to remove mold, and if you suspect contamination, follow the manufacturer’s instructions.
For routine descaling, see our guide on how to clean a coffee maker with vinegar.
Work through the steps below in order, and let your own manual overrule anything here.
- Unplug it and let it cool. Keurig, the Ninja CM360/CM371 guide and the Hamilton Beach FlexBrew 49921 manual all say to do this before cleaning, and the FlexBrew manual warns that hot water or coffee can spray from the piercing needle if the machine has not cooled.
- Empty it. Pour out the water, and throw away any grounds, filters or used pods.
- Read what your manual allows. The rules differ. The Ninja CM360/CM371 guide lists filter parts and some carafe parts as dishwasher safe but not the thermal carafe, the Hamilton Beach FlexBrew 49921 manual allows the top rack only without the sanitize setting, and Keurig’s K-Iced Plus guide says its parts are not dishwasher safe.
- Wash the removable parts. Use the method your manual gives, which for the Hamilton Beach FlexBrew 49921 is hot, soapy water. The EPA’s general home guidance for hard surfaces is to scrub mold off with detergent and water and dry completely, so give corners and seams proper attention, then rinse.
- Wipe what does not come off. Use a soft, damp cloth where your manual allows it, and inside the machine do only what the manual describes. Never immerse the machine, which the Ninja CM360/CM371 guide and the FlexBrew 49921 manual both warn against, and the FlexBrew manual extends that to the cord and plug.
- Dry everything before you put it back. Leave the parts out until they are fully dry, then reassemble.
- Check again before you brew. Run any clean or rinse cycle your manual calls for. If the growth is still there, or you can see it somewhere you cannot reach, move to the replacement section below.
Leave bleach out of this unless your manual specifically allows it. The EPA does not recommend biocides such as chlorine bleach as a routine part of mold cleanup. Never mix bleach with any other cleaner, including vinegar, descalers or ammonia products, because the CDC warns that mixing it with other cleaners can release dangerous vapors.
A Simple Prevention Routine
The EPA’s central point is that mold follows moisture, so the goal here is simple: leave less wet material sitting around. A short routine after brewing does most of that.
- Empty spent grounds, filters or pods once they have cooled, as Keurig recommends for used pods.
- Empty and rinse the removable wet parts your manual says to rinse.
- Let those parts dry before the next brew.
- Keep the reservoir on your manual’s cleaning schedule. The Ninja CM360/CM371 guide recommends emptying and hand-washing the reservoir weekly, while Keurig lists rinsing external parts daily, so the right interval depends on your machine.
- Do any descaling your manual calls for, and treat it as maintenance rather than a mold treatment.
Machines that sit unused need extra thought, since water left in a reservoir has time to stagnate. Keurig suggests running cleansing brews after a machine has been idle, and a full descale before and after storing it for more than a month. None of this guarantees a mold-free machine, but it gives you fewer places to worry about.
When to Replace Instead
Replacing the machine makes sense when cleaning cannot do the job. That usually means growth in a place you cannot reach, cracked or damaged parts that will not clean up, or mold that returns even though you followed the manual’s cleaning steps.
Before you buy anything, contact the manufacturer. They may be able to tell you whether a part can be replaced, or whether your model has a specific process.
If you do replace it, a new machine will not fix a routine that leaves wet parts sitting. Choosing different materials is a decision about construction and how easily you can clean the parts, not a promise about mold or your health.
FAQ
Does vinegar kill mold in a coffee maker?
Do not count on it. A vinegar cycle is a descaling step, not a proven way to remove mold from a contaminated machine, so follow your manufacturer’s cleaning steps instead.
Do I need to test what I found?
Usually not. The EPA says sampling is generally unnecessary when mold is visible in a home, and a visual check is not a lab result either way. Clean what you can reach, and go to the manufacturer if it persists.
Can I put the parts in the dishwasher?
Only if your manual says so, and only the parts it names. Machines differ, and some makers rule it out completely.
Most of this comes down to knowing which parts you can reach and keeping them dry. For more on looking after your setup, see our home brewing guide.
